hexo 自动部署
前言
本博客部署在github 使用github action 进行自动部署.
参考
Hexo 集成 GitHub Actions 自动部署 使用sshkey 方式尽心同步
【Hexo自动部署】优雅的使用 Github Actions 进行 Hexo 静态博客的持续集成与部署
准备工作
在github 新创建两个库
hexo (公开库) 发布博客静态页面
hexosource (私有库) 博客源码存储
此处也可以在同一仓库的 以不同分支进行部署. 例如 master是源码 gh_page是博客静态文件
获取Token
为了确保交由Github Action来持续部署时,Github Action具备足够的权限来进行hexo deploy操作, 需要先获取Token
访问Github->头像(右上角)->Settings->Developer Settings->Personal access tokens->generate new token,创建的Token名称随意,但必须勾选repo项和workflows项。
Token只会显示一次,请在生成Token之后立即记录下来,否则如果忘记了Token,就必须重新生成重新配置
配置博客deploy信息
deploy:
  type: git
#  repo: git@github.com:liudongsir/hexo2.git
#  此处使用token连接是为了github action 工作流执行时有访问仓库的权限
  repo: https://yourtoken@github.com/liudongsir/hexo2.git
  branch: master
配置Github Action工作流
在博客源码hexosource 中 新建
.github/workfolws文件新建工作流配置文件
deploy.yml文件名随便,同一仓库可部署多个工作流
# 脚本1,供初学者使用,如有其他需要在部署前运行的插件(如gulp、hexo-bangumi-bilibili等,请参考脚本2)
# 当有改动推送到master分支时,启动Action

# Action 的名字
name: Hexo Auto Deploy
on:
  push:
    branches:
      - master
env:
  # 使用此 git 用户部署到 github 仓库
  GIT_USER: liudong
  # 使用此 git 邮箱部署到 github 仓库
  GIT_EMAIL: 571633329@qq.com

jobs:
  build:
    runs-on: ubuntu-latest
    steps:
      - name: 拉取仓库代码
        uses: actions/checkout@v2
        with:
          ref: master
      - name: 安装nodejs
        uses: actions/checkout@v2
        with:
          node-version: 22.1.0
      - name: Cache node_modules # 缓存 node_modules,提高编译速度,毕竟每月只有 2000 分钟。
        uses: actions/cache@v2  # 亲测 Github 服务器编译速度比我自己电脑都快,如果每次构建按5分钟计算,我们每个月可以免费部署 400 次,Github yyds!!!
        env:
          cache-name: cache-node-modules
        with:
          path: ~/.npm
          key: ${{ runner.os }}-build-${{ env.cache-name }}-${{ hashFiles('**/package-lock.json') }}
          restore-keys: |
            ${{ runner.os }}-build-${{ env.cache-name }}-
            ${{ runner.os }}-build-
            ${{ runner.os }}-
      # 配置环境
      - name: 配置环境
        run: |
          git config --global user.name $GIT_USER
          git config --global user.email $GIT_EMAIL
      # 安装依赖
      - name: 安装依赖
        run: |
          npm install hexo-cli -g
          echo "install hexo successful"
          npm install
          echo "init node successful"
      # 克隆 Hexo 静态资源库
      # clone博客静态文件仓库,防止Hexo推送时覆盖整个静态文件仓库,而是只推送有更改的文件
      # 此处的仓库链接是我的个人仓库,请根据你的仓库链接进行修改,
      #仓库路径可以有第二种写法
      - name: 克隆 Hexo 静态资源库
        run: |
          git clone https://yourtoken@github.com/liudongsir/hexo2.git .deploy_git
      # 部署  部署可以使用 hexo d 进行部署 也可以使用git直接推送
      - name: 部署 Hexo
        run: |
          hexo clean
          hexo generate
          echo "build blog successful"
          hexo deploy
      - run: echo "Deploy Successful!"
问题
- github page用法研究
- 使用国内的 coding能都部署到github仓库中?
- 添加自动运行脚本
QA
初始化仓库
git init
git remote add origin https://github.com/yourusername/your-repo.git
git add .
git commit -m "Initial commit"
git push -u origin main
butterfly 自动化执行失败
我使用的butterfly主题, 在工作流执行过程中报错,主题的自定义标签不识别
但是过了一会 又可以了, 怀疑是哪的缓存造成的.
仓库路径的第二种写法
本文中仓库路径采用
https://youtoken@github.com/liudongsir/hexo2.git的写法另有一种方式设置 : 使用变量的方式
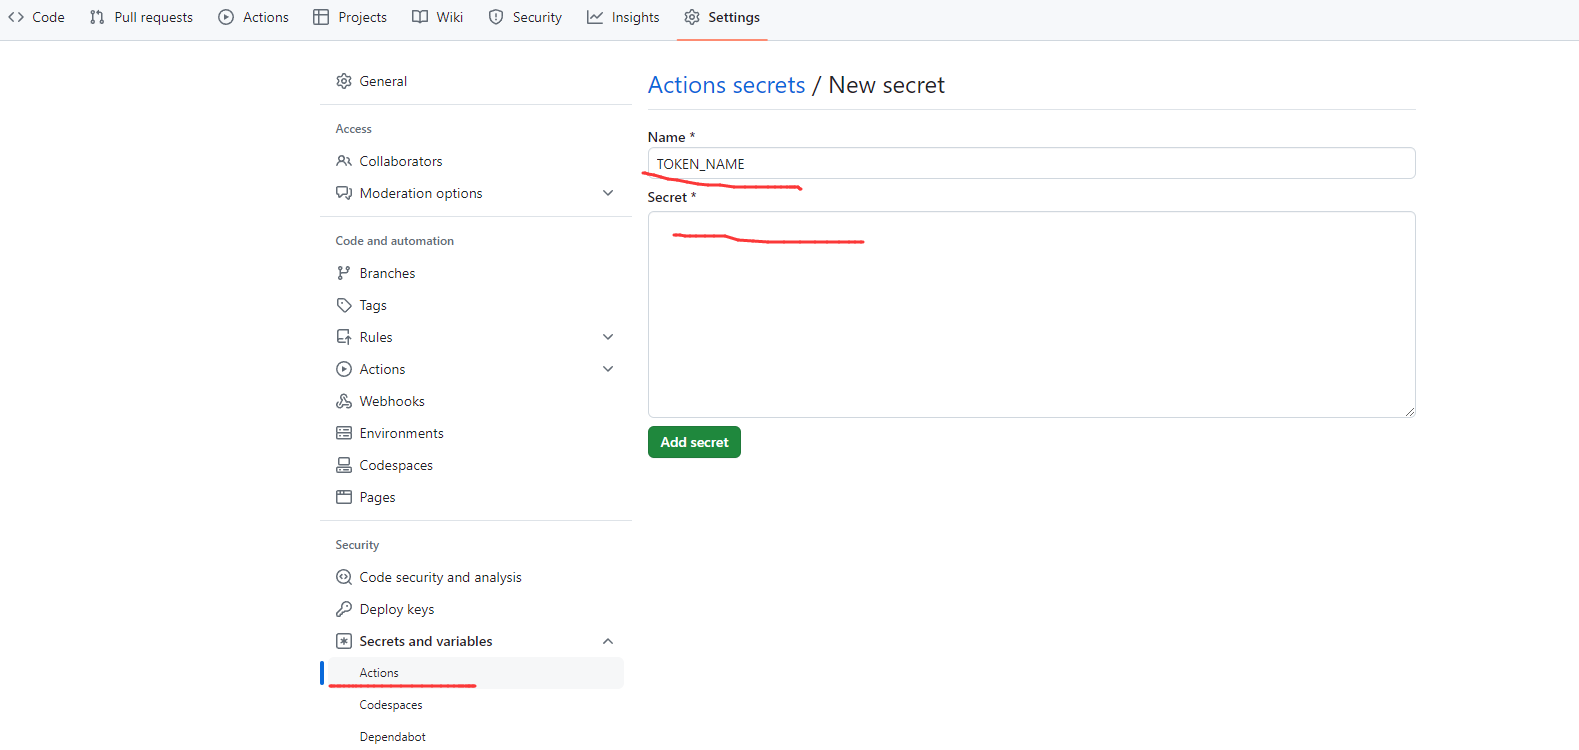
https://${{ secrets.TOKEN_NAME}}@github.com/liudongsir/hexo2.git不过即使在此处设置了变量, 在 博客根配置_config.yml 中配置deploy.repo 的时候 还是要将token显示的写出来
即:
https://youtoken@github.com/liudongsir/hexo2.git
部署静态文件的第二种方式
参考 原文链接:https://blog.csdn.net/qq_73142349/article/details/138245304
上面采用 hexo g 自动部署, 也可以采用 git 命令推送的方式
- name: Deploy to GitHub Pages
        env:
          GH_TOKEN: ${{ secrets.GH_TOKEN }}
        run: |
          cd public/
          git init
          git add -A
          git commit -m "Create by workflows"
          git remote add origin https://${{ secrets.GH_TOKEN }}@github.com/yourusername/your-repo.git
          git push origin HEAD:gh-pages -f

原文链接:https://blog.csdn.net/m0_51390969/article/details/139838128
配置hexosource gitignore
# 新建 .gitignore文件 根.git同级
.DS_Store
Thumbs.db
db.json
*.log
node_modules/
public/
.deploy*/


